by cafe-eilat | Apr 7, 2026 | Healthy Food
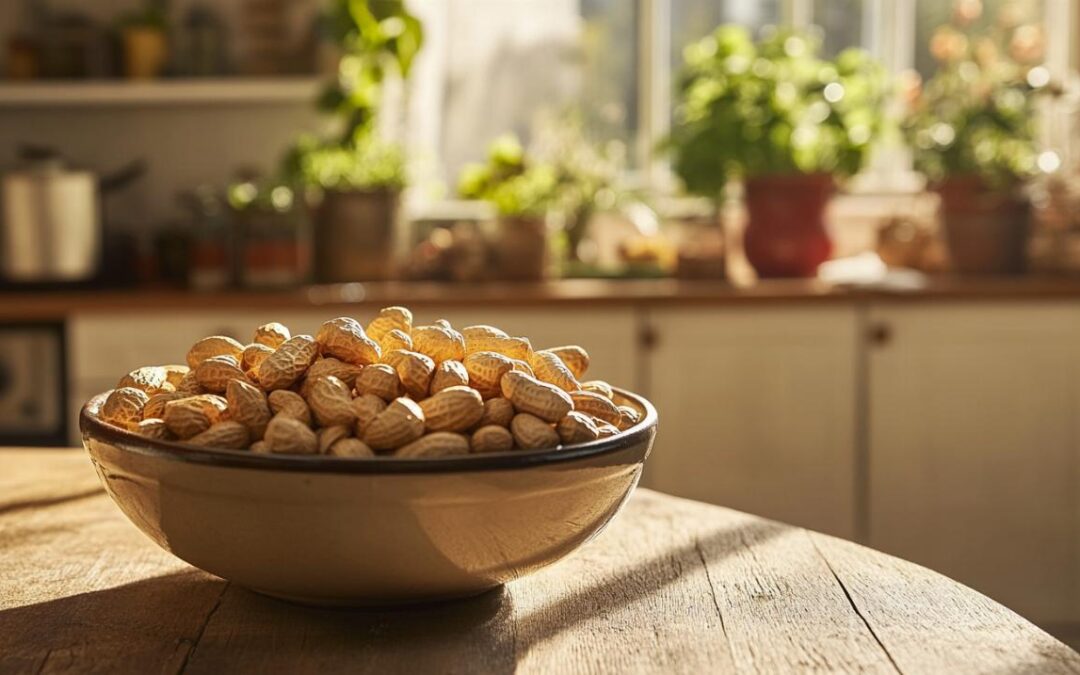
For those seeking practical and enjoyable ways to support their cardiovascular system, the humble peanut emerges as a surprisingly powerful ally. Long cherished as a convenient snack and a staple in many kitchens, peanuts have garnered attention from researchers and health professionals alike for their potential to influence cholesterol levels and promote overall heart wellness. This article explores the science behind peanut consumption and its role in cholesterol management, offering insights into how this accessible legume can be woven into a heart-conscious lifestyle.
Understanding cholesterol and why peanuts matter
The Role of Good and Bad Cholesterol in Cardiovascular Wellness
Cholesterol, a waxy substance present in every cell of the body, plays a crucial role in various physiological processes, from hormone production to cell membrane integrity. However, not all cholesterol is created equal. Low-density lipoprotein cholesterol, commonly referred to as LDL cholesterol, is often termed the 'bad' cholesterol because elevated levels can lead to the accumulation of fatty deposits in the arteries, increasing the risk of heart disease. On the other hand, high-density lipoprotein cholesterol, or HDL cholesterol, is known as the 'good' cholesterol, as it helps transport excess cholesterol away from the arteries and back to the liver for removal. Maintaining a healthy balance between these two types is fundamental to reducing cardiovascular disease risk and supporting long-term heart health.
Managing cholesterol levels effectively requires a multifaceted approach that includes dietary choices, physical activity, weight management, and lifestyle modifications such as smoking cessation and limiting alcohol intake. Among the dietary strategies that have shown promise, the inclusion of nuts and legumes has attracted considerable scientific interest. Peanuts, in particular, stand out due to their rich nutritional profile and accessibility. Global consumption of peanuts has surged, reaching approximately 42.6 million metric tons in 2018, reflecting their widespread appeal and growing recognition as a health-promoting food. The American Heart Association has certified peanuts as beneficial for heart health, and the Food and Drug Administration has acknowledged that consuming 1.5 ounces of nuts like peanuts may help lower the risk of heart disease, underscoring the significance of these legumes in cardiovascular wellness.
How peanuts contribute to balanced lipid profiles
Peanuts contain a unique blend of compounds that can positively influence lipid metabolism and cholesterol management. Research indicates that regular peanut consumption is associated with lower triglyceride levels, a type of fat in the blood that, when elevated, can contribute to the hardening of arteries and increase the risk of heart disease and stroke. A randomised controlled trial known as the ARISTOTLE Study involved 63 healthy participants who incorporated 25 grams per day of skin roasted peanuts, 32 grams per day of peanut butter, or 32 grams per day of peanut oil-based control butter into their usual diet for six months. The group consuming skin roasted peanuts exhibited lower total cholesterol to HDL cholesterol ratios and lower LDL to HDL cholesterol ratios compared to the control group, suggesting that peanuts can help shift the balance toward a more favourable lipid profile.
A broader meta-analysis that included eleven studies, among them the ARISTOTLE Study, reinforced these findings by demonstrating that peanut consumption is linked to reduced triglycerides and improved cholesterol ratios in healthy individuals. Notably, those who consumed peanuts regularly experienced lower total cholesterol and LDL to HDL cholesterol ratios, both of which are key indicators of cardiovascular health. While some participants with high cardiometabolic risk gained a modest amount of body weight during the peanut interventions, the overall evidence suggests that peanuts can play a valuable role in regulating lipid metabolism and supporting cholesterol management. This makes peanuts an appealing option for those looking to enhance their heart health through dietary means.
Nutritional Composition of Peanuts and Their Impact on Heart Health
Essential Fatty Acids and Plant Sterols Found in Peanuts
One of the standout features of peanuts is their rich content of unsaturated fats, particularly monounsaturated and polyunsaturated fats. These healthy fats are known to support cardiovascular health by helping to lower LDL cholesterol levels while maintaining or even increasing HDL cholesterol. Unlike saturated and trans fats, which can contribute to the buildup of arterial plaque, unsaturated fats promote better lipid profiles and reduce inflammation. Peanut butter, for instance, contains no cholesterol and is abundant in monounsaturated fats that actively work to lower LDL cholesterol, making it a heart-friendly alternative to spreads high in saturated fats.
In addition to their favourable fat composition, peanuts are a notable source of plant sterols, also known as phytosterols. These naturally occurring compounds have a structure similar to cholesterol and can compete with it for absorption in the digestive tract. By blocking the absorption of dietary cholesterol, phytosterols can help reduce LDL cholesterol levels by up to 14 percent, according to some studies. This mechanism is particularly beneficial for individuals seeking to manage their cholesterol without relying solely on medication. The presence of plant sterols in peanuts, combined with their unsaturated fat content, makes them a powerful tool for improving overall lipid profiles and supporting long-term cardiovascular wellness.
Vitamins, minerals, and antioxidants that support cholesterol reduction
Beyond their healthy fats and plant sterols, peanuts are packed with vitamins, minerals, and antioxidants that contribute to heart health in multiple ways. They are a good source of dietary fibre, which helps regulate cholesterol by binding to it in the digestive system and facilitating its removal from the body. Soluble fibre, in particular, has been shown to lower LDL cholesterol levels and improve overall cardiovascular health. Peanuts also provide plant-based protein, which can aid in weight management and reduce the intake of animal proteins that may be higher in saturated fats.
Peanuts are rich in vitamin E, a potent antioxidant that protects cells from oxidative stress and inflammation, both of which are key contributors to heart disease. Eating peanuts with their skins on can further enhance their antioxidant content, as the skins contain additional phenolic compounds. Other important nutrients found in peanuts include magnesium, which supports blood pressure regulation, and manganese, niacin, copper, and potassium, all of which play roles in cardiovascular function. Peanuts also contain arginine, an amino acid that promotes healthy circulation and can help lower blood pressure. Furthermore, they are a source of resveratrol, a powerful antioxidant more commonly associated with red wine, which has been linked to reduced inflammation and improved heart health. The combination of these nutrients makes peanuts a comprehensive dietary choice for those aiming to protect their arteries and support overall cardiovascular wellness.
Research has shown that incorporating peanuts into a balanced diet can have far-reaching benefits. Eating peanuts at least twice a week has been associated with a 15 percent reduction in the risk of heart disease and a 13 percent decrease in the risk of cardiovascular disease. For those who consume peanuts five times a week, the protective effects are even more pronounced. Daily nut consumption, including peanuts, has been linked to a 29 percent reduction in deaths from heart disease, highlighting the significant impact that regular intake can have on longevity and quality of life. Additionally, plant-based diets that include nuts like peanuts have been associated with lower mortality rates, further emphasizing the importance of these legumes in a heart-healthy eating pattern.
Practical considerations when including peanuts in your diet
Recommended Portions and Preparation Methods for Maximum Benefits
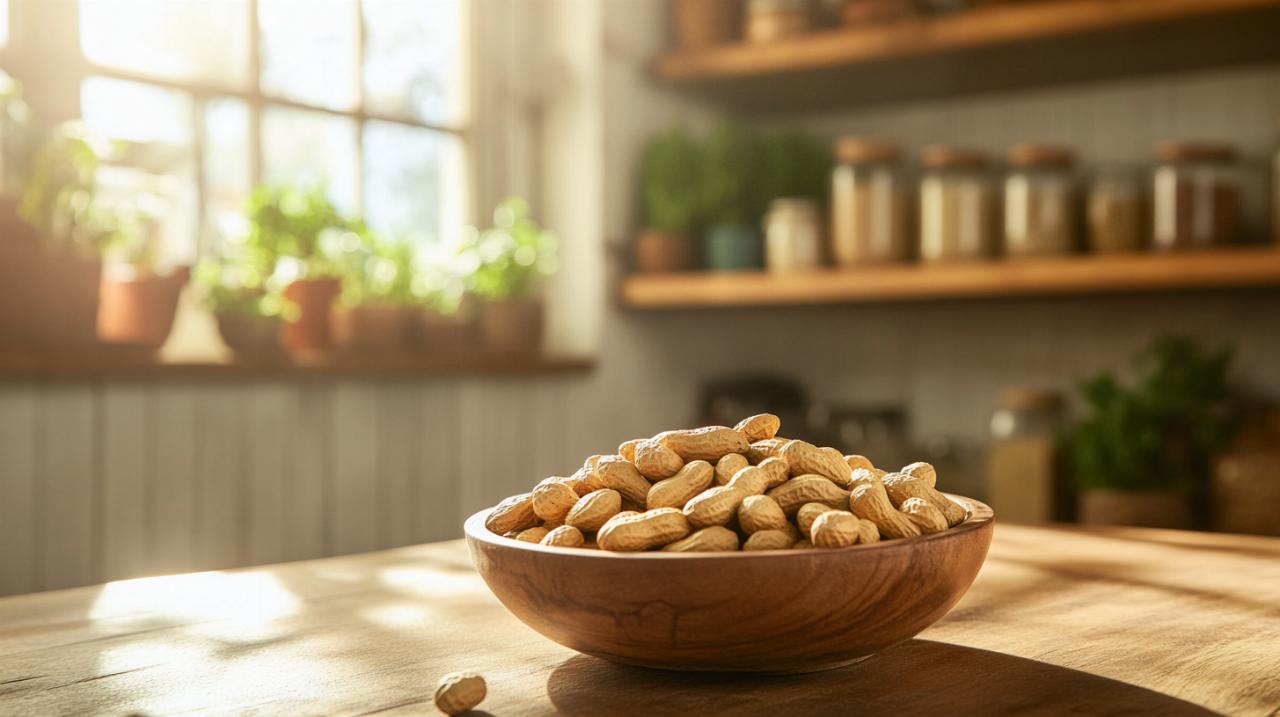
While peanuts offer numerous health benefits, it is important to consume them in moderation and as part of a balanced diet. The recommended serving size for nuts, including peanuts, is approximately 30 grams, or about one ounce, which is roughly equivalent to a small handful of whole peanuts or two tablespoons of peanut butter. This portion size provides a substantial amount of nutrients without excessive calories, making it easier to maintain a moderate weight and avoid unintended weight gain. Losing just 5 to 10 percent of body weight can significantly improve cholesterol levels, so portion control is a key consideration for those using peanuts as part of a cholesterol management strategy.
Preparation methods also matter when it comes to maximizing the health benefits of peanuts. Skin roasted peanuts, for instance, retain their nutrient-rich skins, which contain additional antioxidants and phenolic compounds. Choosing unsalted or low-sodium varieties is advisable, as peanuts are naturally low in sodium, and excessive salt intake can negate some of the cardiovascular benefits. Peanut butter and peanut oil can also be excellent options, provided they are free from added sugars, hydrogenated oils, and excessive salt. When selecting peanut butter, opting for natural versions with minimal ingredients ensures that you are getting the full nutritional value without unnecessary additives.
Incorporating peanuts into a heart-healthy diet can be as simple as adding them to salads, oatmeal, or smoothies, or enjoying them as a standalone snack. They can also be used in cooking to replace less healthy fats, such as saturated or trans fats, which are known to raise LDL cholesterol levels. By making thoughtful choices about preparation and portion sizes, individuals can harness the full potential of peanuts to support their cardiovascular health and cholesterol management goals.
Potential drawbacks and who should exercise caution
Despite their many benefits, peanuts are not suitable for everyone, and there are some potential drawbacks to consider. Peanut allergies are among the most common and serious food allergies, and individuals with this condition must avoid peanuts and peanut-containing products entirely. Even trace amounts can trigger severe allergic reactions, making it essential for those affected to read food labels carefully and seek alternatives that offer similar nutritional benefits.
Additionally, while peanuts can be part of a weight management strategy, some research has indicated that individuals with high cardiometabolic risk may experience modest weight gain when consuming peanuts regularly. This highlights the importance of monitoring overall calorie intake and ensuring that peanuts are consumed as part of a balanced diet rather than in addition to an already calorie-dense eating pattern. For those with existing health conditions or concerns about weight management, consulting a healthcare professional or registered dietitian can provide personalized guidance and help tailor dietary choices to individual needs.
It is also worth noting that not all peanut products are created equal. Peanut butter varieties that contain added sugars, hydrogenated oils, or excessive salt can diminish the health benefits and may even contribute to cardiovascular risk if consumed in large quantities. Reading ingredient labels and choosing products with minimal processing and additives is crucial for maximizing the positive impact of peanuts on cholesterol and heart health.
To improve cholesterol levels and support overall cardiovascular wellness, it is essential to adopt a holistic approach that goes beyond peanut consumption alone. This includes limiting intake of saturated and trans fats, increasing consumption of healthy unsaturated fats, boosting soluble fibre intake, engaging in regular physical activity, maintaining a moderate weight, limiting alcohol consumption, and quitting smoking. A low-sodium diet that includes nuts such as almonds, hazelnuts, and peanuts can further enhance these efforts. By combining these strategies, individuals can create a comprehensive plan for managing cholesterol and reducing the risk of heart disease.
In summary, peanuts offer a wealth of nutritional benefits that can support cholesterol management and cardiovascular health. From their rich content of unsaturated fats and plant sterols to their impressive array of vitamins, minerals, and antioxidants, peanuts stand out as a versatile and accessible option for those seeking to improve their lipid profiles and protect their hearts. By incorporating peanuts into a balanced diet, paying attention to portion sizes and preparation methods, and adopting a comprehensive approach to heart health, individuals can harness the remarkable benefits of this humble legume to support long-term wellness and vitality.
by cafe-eilat | Apr 6, 2026 | Restaurants
Opening a restaurant that caters to special dietary needs is no longer a niche pursuit but a thriving sector within the hospitality industry. With more customers seeking out establishments that understand their unique requirements, from those managing coeliac disease to individuals following a ketogenic lifestyle, the demand for thoughtful, health-conscious dining continues to grow. This guide explores how to develop a successful dietary restaurant, from conceptualising your brand to crafting gut-friendly recipes and navigating the practicalities of launching your venture.
Crafting Your Dietary Restaurant Concept: Understanding the Market and Your Niche
The first step in establishing a dietary restaurant is to thoroughly understand the market landscape and identify the specific niche you wish to serve. The spectrum of dietary requirements is broad, encompassing everything from gluten-free and dairy-free options to low-FODMAP menus and plant-based fare. Before committing to a concept, consider conducting market research within your local area to gauge demand. Are there already establishments catering to these needs, or is there a gap waiting to be filled? Understanding your competition and potential customer base will inform every decision you make, from menu design to pricing strategy.
Identifying your target audience: from coeliac to keto customers
Defining your target audience is crucial for shaping your restaurant's identity and menu offerings. Customers with coeliac disease, for instance, require absolute assurance that their meals are free from gluten contamination, whilst those following a ketogenic diet prioritise high-fat, low-carbohydrate dishes. Meanwhile, individuals focused on gut health may seek out meals rich in probiotics, prebiotic fibre, and plant polyphenols. Each group has distinct needs and expectations, so it is essential to decide whether you will specialise in one area or offer a diverse menu that accommodates multiple dietary preferences. By honing in on your primary audience, you can tailor your messaging, sourcing, and kitchen practices to meet their specific requirements with confidence and authenticity.
Developing a Unique Brand Identity for Your Dietary Establishment
Once you have identified your target market, the next challenge is to develop a brand identity that resonates with them. Your brand should communicate trust, expertise, and a genuine commitment to health and wellbeing. Consider the tone and style of your messaging: will your restaurant exude a clinical, science-backed approach, or will it lean towards a warm, homely atmosphere that emphasises comfort and inclusivity? Visual elements such as your logo, colour palette, and interior design should reflect your values and appeal to your intended clientele. Additionally, transparency is key in this sector. Clearly communicating your sourcing practices, preparation methods, and nutritional information can build trust and set you apart from competitors. A strong brand identity not only attracts customers but also fosters loyalty, turning first-time visitors into regular patrons.
Essential gut-friendly recipes to launch your dietary menu
A well-crafted menu is the heart of any successful restaurant, and when catering to dietary needs, the emphasis must be on both flavour and function. Gut-friendly recipes, in particular, have gained significant traction as awareness of the gut-brain connection and the importance of bacterial diversity continues to rise. By focusing on whole unprocessed foods, you can create dishes that are not only delicious but also support digestive health. Incorporating ingredients such as sweet potatoes, which are rich in fibre and beta-carotene, or tempeh and lentils for their protein and prebiotic benefits, can elevate your menu whilst meeting the nutritional needs of your customers. The key is to strike a balance between innovation and accessibility, ensuring that your dishes appeal to both the health-conscious diner and the casual visitor seeking a satisfying meal.
Plant-based and gluten-free starters that wow
First impressions matter, and your starters set the tone for the entire dining experience. Plant-based and gluten-free options are increasingly popular, and they offer a wealth of creative possibilities. Consider a starter featuring cauliflower, which is not only high in fibre but also versatile enough to be roasted, pureed, or pickled. Pairing it with a drizzle of olive oil, which contains beneficial fatty acids and polyphenols, can add depth and richness. Another option might be a dish centred around fermented foods such as kimchi or miso, both of which are celebrated for their probiotic content. These ingredients not only support gut health but also bring bold, umami flavours that can intrigue and delight your guests. For a lighter touch, a salad incorporating walnuts, tomatoes, and garlic can provide a satisfying combination of textures and flavours whilst delivering antioxidants and prebiotic fibre. The goal is to create starters that are visually appealing, flavourful, and nutritionally robust, setting a high standard for the courses that follow.
Low-fodmap mains and allergen-conscious puddings
When it comes to main courses, offering low-FODMAP options can be a significant draw for customers managing irritable bowel syndrome or other digestive sensitivities. Dishes built around ingredients such as oats, which are rich in prebiotic fibre, or chickpeas, which provide both protein and fibre, can form the foundation of a satisfying and gut-friendly meal. For example, a hearty stew featuring lentils, sweet potatoes, and broccoli can deliver comfort and nutrition in equal measure, whilst a grilled salmon fillet paired with a side of sautéed cabbage offers a lighter yet equally nourishing alternative. Desserts, often overlooked in dietary menus, present an opportunity to showcase creativity and care. Puddings made with dates, which are naturally sweet and high in fibre, or yoghurt enriched with kefir for an extra probiotic boost, can round off a meal on a high note. For those avoiding gluten, experimenting with bran or oat-based bases can yield delicious results. By paying close attention to allergen concerns and clearly labelling your menu, you can provide peace of mind to your customers whilst demonstrating your commitment to inclusivity and quality.
Getting Your Dietary Restaurant Off the Ground: Practical Steps and Considerations
Turning your concept into a fully operational restaurant requires careful planning and attention to detail. Beyond the creative aspects of menu development and branding, there are numerous practical considerations that must be addressed. From sourcing ingredients to training staff and ensuring compliance with food safety regulations, each element plays a critical role in the success of your establishment. It is also worth noting that the dietary restaurant sector demands a higher level of vigilance and expertise compared to traditional dining venues, as the health and safety of your customers depend on your ability to deliver on your promises.
Sourcing quality ingredients and navigating supplier relationships
The quality of your ingredients is paramount, particularly when catering to customers with specific dietary needs. Establishing relationships with reliable suppliers who can provide certified gluten-free, organic, or allergen-free products is essential. When sourcing items such as tempeh, miso, or kimchi, for instance, it is important to verify that they meet the necessary standards and have been produced in facilities that minimise the risk of cross-contamination. Building strong relationships with local farmers and artisanal producers can also enhance your menu by providing fresh, seasonal ingredients that resonate with environmentally conscious diners. Additionally, transparency about your supply chain can serve as a powerful marketing tool, reinforcing your commitment to quality and ethical sourcing. Whilst navigating these relationships may require time and effort, the investment pays dividends in the form of a superior product and customer trust.
Staff training, cross-contamination prevention, and regulatory compliance
Even the most meticulously designed menu will fall short if your staff are not adequately trained to execute it. In a dietary restaurant, every member of your team must understand the importance of allergen management and cross-contamination prevention. This includes not only kitchen staff but also front-of-house personnel who interact directly with customers. Regular training sessions on topics such as safe food handling, ingredient recognition, and emergency response procedures can help ensure that everyone is equipped to meet the demands of the role. Additionally, implementing rigorous protocols for cleaning and storage can further reduce the risk of contamination. From a regulatory standpoint, compliance with food safety standards and allergen labelling laws is non-negotiable. Familiarise yourself with the requirements set out by local authorities and industry bodies, and consider seeking guidance from a food safety consultant if needed. By prioritising training and compliance, you can create a safe and welcoming environment for all your guests, regardless of their dietary restrictions.
by cafe-eilat | Apr 3, 2026 | Cooking techniques
Mayonnaise stands as one of the most remarkable culinary achievements, transforming simple ingredients into a luxurious, creamy condiment that has graced tables across the globe for generations. This velvety sauce, born from the careful marriage of oil and egg, represents a triumph of technique over chemistry, where patience and precision yield a product far greater than the sum of its parts. Whether you're dolloping it onto a sandwich or using it as the foundation for more complex sauces, understanding the intricacies of this beloved emulsion elevates your cooking from functional to extraordinary.
The science behind creating a stable emulsion
Understanding the Role of Egg Yolks in Binding Oil and Liquid
At the heart of every successful batch of mayonnaise lies a fascinating chemical dance between ingredients that would ordinarily refuse to mix. Oil and water, as we all know from school science lessons, typically repel one another, remaining stubbornly separate no matter how vigorously you shake them. This is where the humble egg yolk steps in as the hero of our story. The yolk contains lecithin, a natural emulsifier that possesses a rather remarkable molecular structure. One end of the lecithin molecule feels an affinity for water, whilst the other end prefers oil. When you whisk egg yolk into your mixture, these molecules position themselves at the boundary between oil droplets and the surrounding liquid, effectively holding hands with both substances simultaneously. This creates microscopic oil droplets suspended throughout the mixture, resulting in that signature smooth, thick texture we associate with proper mayonnaise. Without this emulsifying action, you'd simply have a bowl of separated ingredients rather than the cohesive sauce that transforms a plain chip into something rather special.
Why Mustard Acts as the Perfect Stabilising Agent
Whilst egg yolk provides the primary emulsifying power, mustard enters the equation as a supporting player that punches well above its weight. Beyond contributing a subtle sharpness that enhances the overall flavour profile, mustard contains its own emulsifying compounds that work in concert with the lecithin from egg yolks. These additional stabilisers help maintain the delicate structure of your emulsion, making it more resistant to the temperature changes and jostling that might otherwise cause it to break. Mustard also adds a touch of acidity, which serves the dual purpose of brightening the flavour whilst creating an environment less hospitable to bacterial growth. Many experienced cooks swear by adding just a small spoonful at the beginning of the process, claiming it makes the emulsion more forgiving and less likely to split. The mustard essentially provides insurance against the most common pitfalls that plague novice mayonnaise makers, acting as a safety net whilst you develop your whisking technique.
Mastering the Traditional Mayonnaise Recipe at Home
Essential Ingredients and Equipment for Success
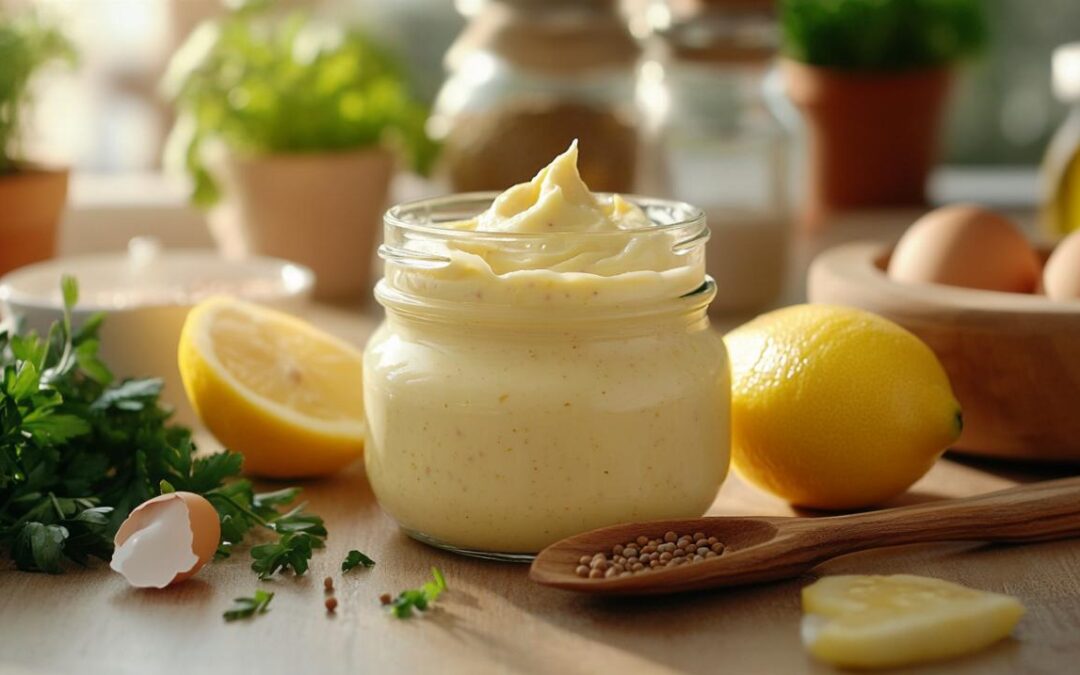
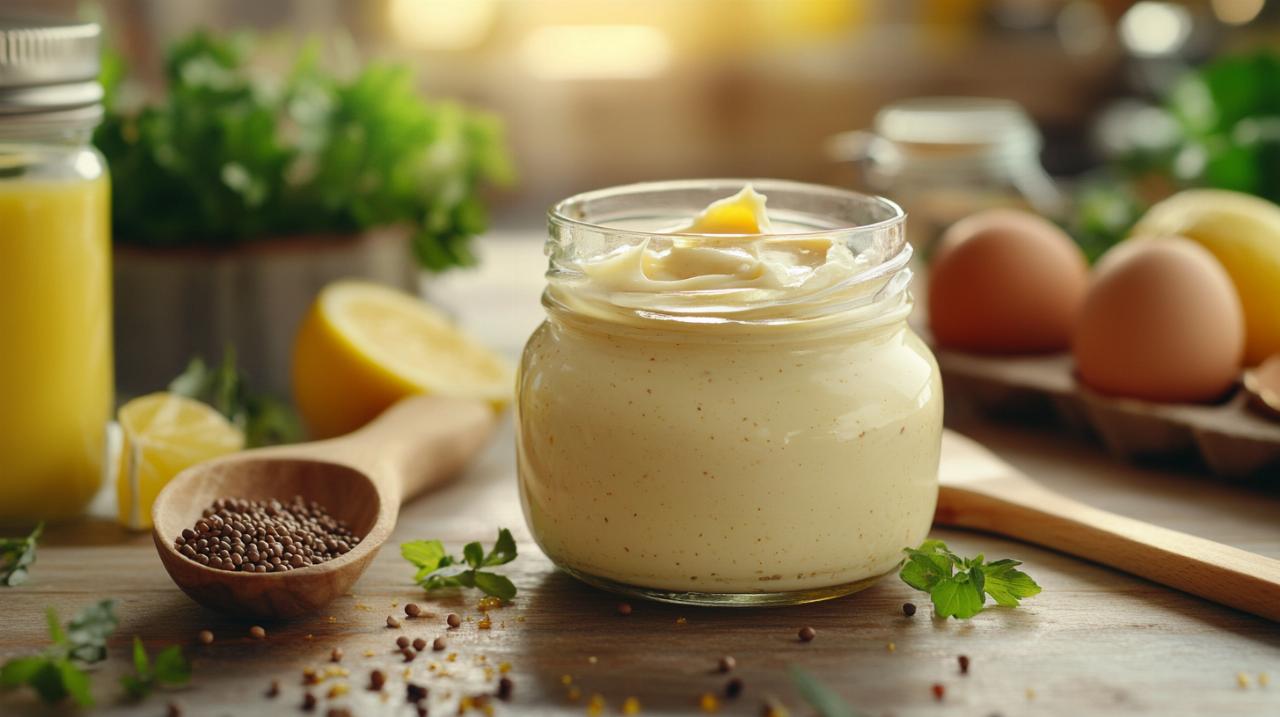
Creating mayonnaise at home requires remarkably few components, yet each plays a critical role in the final product. You'll need fresh egg yolks, preferably from eggs that have been sitting at room temperature for about thirty minutes, as cold eggs can make achieving a stable emulsion more challenging. A neutral oil works best for classic mayonnaise, though some adventurous cooks incorporate a small proportion of olive oil for a more pronounced flavour. Beyond eggs and oil, you'll want a pinch of salt, a splash of vinegar or lemon juice for acidity, and that aforementioned dab of mustard. As for equipment, a medium-sized bowl with a non-slip base proves invaluable, allowing you to whisk without chasing your bowl around the worktop. A balloon whisk gives you the control needed to incorporate air whilst gradually combining ingredients. Some modern cooks turn to food processors or immersion blenders, which can certainly speed up the process, though purists argue that hand-whisking gives you a better feel for the developing emulsion and allows for more precise control.
Step-by-step whisking technique to prevent splitting
The technique for bringing mayonnaise together successfully revolves around one cardinal rule: patience. Begin by placing your egg yolks in the bowl along with the mustard, salt, and a small amount of your acidic component. Whisk these together until they're well combined and slightly lighter in colour. Now comes the crucial part where most attempts succeed or fail. You must add the oil in the merest trickle, ideally just a few drops at a time at first, whisking constantly to incorporate each addition before adding more. This gradual introduction allows the emulsifiers to properly surround each tiny oil droplet before more oil demands their attention. As the mixture begins to thicken and you can see it taking on that characteristic mayo texture, you can become slightly more generous with the oil, increasing to a thin stream rather than individual drops. Throughout this process, maintain a steady, vigorous whisking motion. If your arm grows tired, it's perfectly acceptable to take a brief pause, as a forming emulsion will hold for a few moments. Once all the oil has been incorporated and you've achieved a thick, glossy consistency, whisk in the remaining vinegar or lemon juice to taste. This final addition not only adjusts the flavour but also loosens the texture slightly, making your mayonnaise more spreadable and luxurious.
Troubleshooting common mayonnaise mishaps
How to Rescue a Separated or Curdled Batch
Even experienced cooks occasionally face the disappointment of watching their mayonnaise split, with oil pooling separately from the other ingredients in a most unsatisfactory manner. This typically occurs when oil has been added too quickly, overwhelming the emulsifiers' ability to keep everything bound together, or when the temperature differential between ingredients is too great. The good news is that a split emulsion need not spell disaster. To rescue your separated mixture, start afresh with a clean bowl and a single fresh egg yolk. Whisk this yolk with a small amount of mustard until combined, then begin adding your split mixture exactly as you would have added oil in the original recipe. Treat the failed batch as if it were simply more oil to be emulsified, adding it drop by drop whilst whisking constantly. This technique allows the new egg yolk's emulsifiers to work through the entire mixture again, rebinding the oil droplets with the liquid components. With patience and a steady hand, you can transform your kitchen catastrophe back into a perfectly smooth, glossy mayonnaise that no one would ever suspect had suffered such an indignity.
Adjusting Texture and Flavour to Your Personal Preference
Once you've mastered the basic technique, mayonnaise becomes a canvas for your culinary creativity. The texture can be adjusted by varying the ratio of oil to egg yolk, with more oil creating a firmer, more stable sauce, whilst a higher proportion of yolk yields a lighter, more delicate result. If you find your finished product too thick, a small amount of warm water whisked in will loosen it to your desired consistency without compromising the emulsion. For flavour variations, consider infusing your oil with garlic before beginning, creating the foundation for aioli, or whisking in finely chopped herbs at the end for a verdant, fresh twist. The type of acid you choose also dramatically affects the final taste, with lemon juice offering brightness, white wine vinegar providing subtle complexity, and rice vinegar contributing a gentler, more rounded acidity. Some cooks experiment with replacing a portion of the neutral oil with more flavourful options, though it's wise to exercise restraint, as strongly flavoured oils can quickly overwhelm the delicate balance. The beauty of homemade mayonnaise lies not just in its superior taste and texture compared to commercial varieties, but in the opportunity it provides to tailor every batch to your specific preferences and the requirements of whatever dish you're preparing.
by cafe-eilat | Apr 3, 2026 | Healthy Food
Growing green beans in your garden offers a delightful blend of simplicity and reward. These vigorous plants, known scientifically as Phaseolus vulgaris, have travelled from their origins in the Americas to become a staple in kitchen gardens across the United Kingdom. Whether you are tending a traditional vegetable patch or experimenting with raised beds, understanding the nuances of bean cultivation ensures a plentiful harvest. This guide explores the practical techniques necessary to cultivate both bush and pole varieties organically, offering insights into soil preparation, watering regimes, and the ongoing care required to keep your plants thriving from seed to harvest.
Understanding green bean varieties: bush beans versus pole beans
The Characteristics and Origins of Phaseolus vulgaris
Green beans, originating from Central America, have evolved into a diverse group of cultivars that adapt remarkably well to temperate climates. The species Phaseolias vulgaris encompasses several types, including French beans, runner beans, and the closely related broad beans. French beans, often referred to as snap beans, are prized for their tender pods and crisp texture, while runner beans offer a more vigorous climbing habit and a slightly coarser pod. Broad beans, though distinct in their growing requirements, share the legume family's ability to fix nitrogen in the soil, enriching it for subsequent crops. Each variety brings unique characteristics to the organic kitchen garden, from the subtle flavour profiles to the varying maturity periods that can extend your harvest window throughout the growing season.
The journey of these beans from the warm valleys of the Americas to the cooler gardens of the UK reflects their adaptability. Historically, indigenous peoples cultivated these legumes alongside maize and squash, a trio known as the Three Sisters, which benefited from mutual support and nutrient exchange. Today, home gardeners appreciate beans not only for their nutritional value but also for their role in crop rotation, improving soil health by adding nitrogen. The diverse bean varieties available to UK growers include everything from the traditional runner beans that adorn cottage gardens to the more compact French beans suited to container gardening. Understanding these origins and characteristics allows gardeners to select the most appropriate varieties for their specific conditions and culinary preferences.
Choosing Between Bush and Climbing Varieties for Your Garden
Selecting between bush beans and pole beans depends largely on the space available and your gardening aspirations. Bush beans are compact plants that typically reach a height of around 18 inches and do not require extensive support structures. They produce their crop all at once over a concentrated period, making them ideal for those who prefer a single, substantial harvest for preserving or freezing. This growth habit suits smaller plots or raised beds where space is at a premium. In contrast, pole beans are vigorous climbers that can reach heights of 5 to 10 feet, necessitating sturdy trellis support to accommodate their vertical growth. These climbing varieties offer a continuous harvest from midsummer until the first frost, providing fresh beans for the table over an extended period.
The choice between these two types also influences garden aesthetics and maintenance. Pole beans, with their lush foliage and often ornamental flowers, add vertical interest to the garden and can serve as attractive screens or living walls. Varieties such as Kentucky Wonder and Blue Lake are celebrated for their prolific yields and reliable performance. Bush beans, meanwhile, integrate seamlessly into mixed borders or companion planting schemes, where their compact form does not overshadow neighbouring vegetables. When planning your organic kitchen garden, consider how many plants you will need; a guideline suggests three to five pole bean plants per person to ensure a steady supply. By weighing the benefits of immediate abundance against extended harvesting, you can tailor your bean-growing strategy to suit your household's needs and the unique conditions of your garden.
Preparing your plot: soil requirements and sowing techniques
Optimal soil conditions and pre-planting preparation
Successful bean cultivation begins with thorough soil preparation. Green beans thrive in fertile, well-draining soil that is rich in organic matter. Before sowing, it is advisable to incorporate generous amounts of compost or well-rotted manure into the plot, ensuring that nutrients are readily available to the developing plants. The ideal soil pH ranges from slightly acidic to neutral, typically between 6.0 and 7.0, which facilitates optimal nutrient uptake. Good drainage is paramount, as beans are susceptible to root rot in waterlogged conditions. If your garden soil tends towards heavy clay, consider creating raised beds, which improve drainage and warm up more quickly in spring, extending the sowing window.
The timing of soil preparation is equally important. In the UK, the soil must be workable and sufficiently warm, ideally reaching a temperature of at least 10 degrees Celsius, before direct sowing can commence. This typically occurs from mid-May onwards, once the risk of frost has passed. Ahead of planting, clear the plot of weeds and debris, and lightly fork over the soil to create a fine tilth. This loose texture allows bean roots to penetrate easily and establishes a welcoming environment for germination. If your garden has not been cultivated recently, a soil test can reveal any deficiencies in key nutrients, allowing you to amend the ground appropriately. By investing time in these preparatory steps, you lay the foundation for vigorous growth and a bountiful harvest.
Seed treatment and direct sowing methods
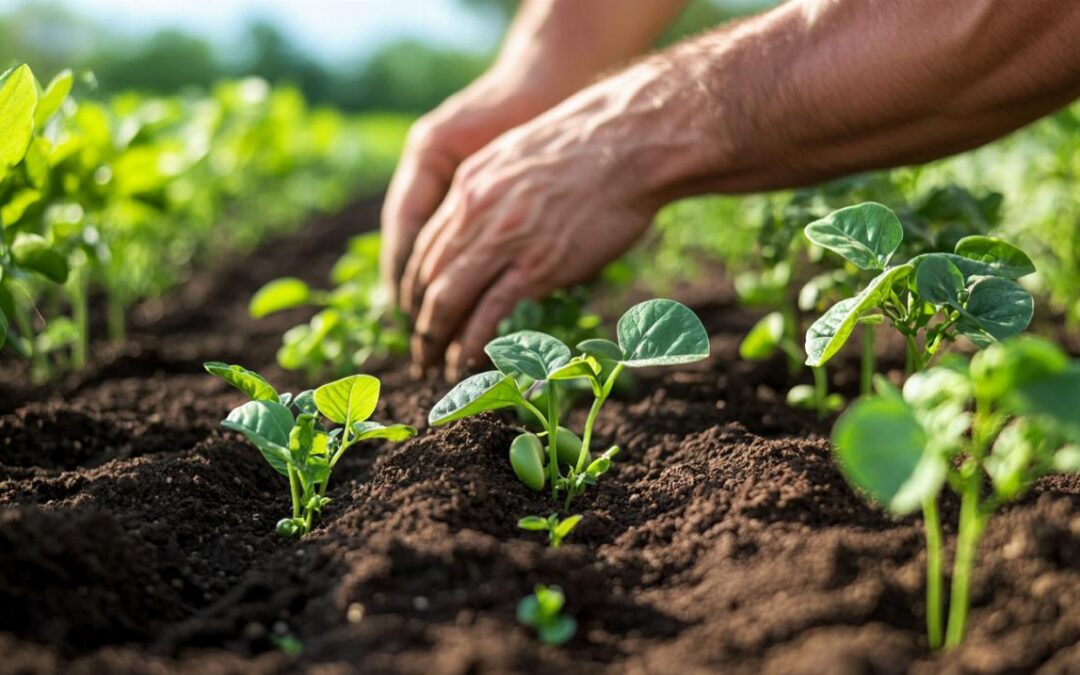
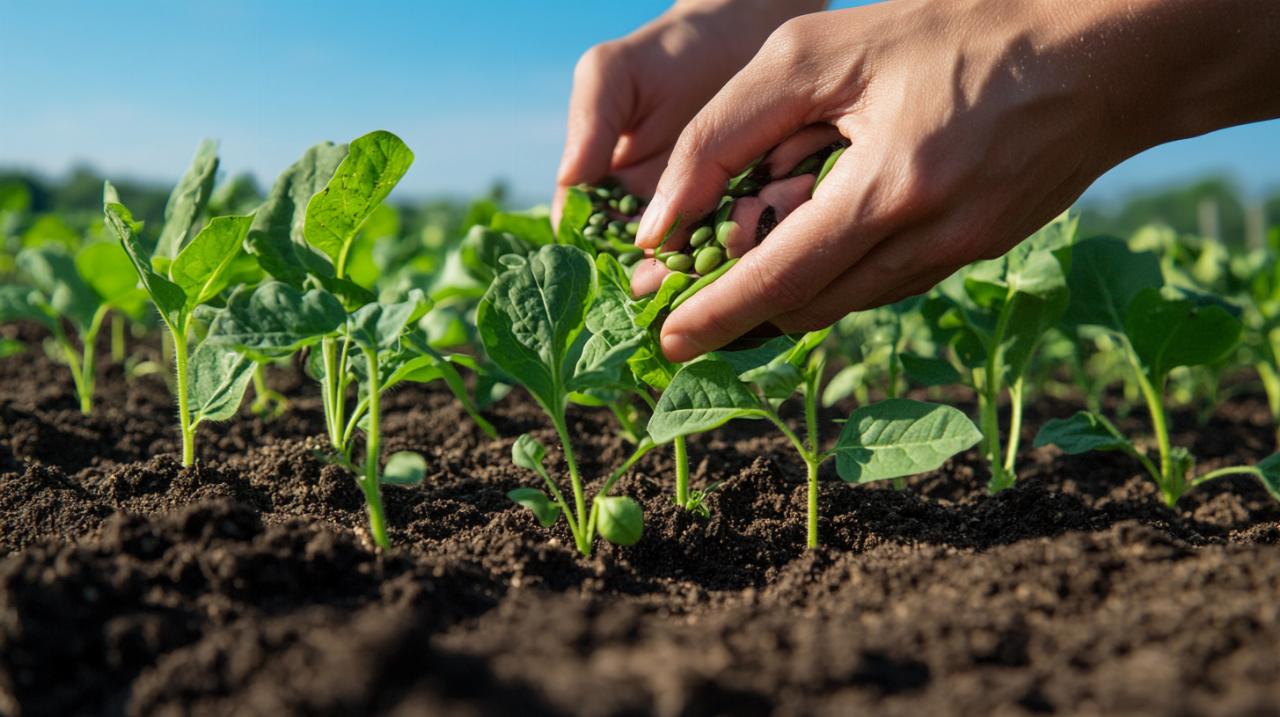
Direct sowing is the most common method for planting green beans, as they do not transplant particularly well due to their sensitive root systems. A practical technique to hasten germination is to soak the seeds overnight in water before planting. This pre-soaking softens the seed coat and encourages quicker emergence, particularly valuable in cooler climates where soil temperatures may fluctuate. Once soaked, plant the seeds approximately one inch deep and space them two to three inches apart in rows. For bush beans, rows should be spaced around 18 inches apart to allow adequate airflow and access for maintenance. Pole beans, which will climb vertically, can be sown slightly closer together, typically around four to six inches apart, along the base of their intended support structure.
When sowing seeds, consider the layout of your garden and the support structures required for climbing varieties. Installing trellises or sturdy cane tripods before planting simplifies the process and avoids disturbing the roots later. Some gardeners prefer to sow seeds in clusters at the base of each support, thinning to the strongest seedlings once they have established. In container gardening, choose pots that are at least 18 inches wide and 12 inches deep to provide sufficient root space. Fill containers with a high-quality, loam-based compost mixed with organic matter to ensure fertility and drainage. After sowing, water gently but thoroughly, taking care not to displace the seeds. Consistent moisture is crucial during germination, so monitor the soil regularly and water as needed to maintain even dampness. With careful attention to sowing techniques, your green beans will emerge vigorously, ready to embark on their journey from seedling to productive plant.
Caring for Your Bean Plants: Watering, Support Structures, and Crop Rotation
Establishing Proper Watering Regimes and Installing Trellises for Climbers
Watering is a critical aspect of bean cultivation, as these plants are particularly sensitive to both drought and waterlogging. During the growing season, aim to provide one to two inches of water per week, adjusting based on weather conditions. In particularly dry spells, more frequent watering may be necessary, especially for beans grown in containers, which dry out more rapidly than those in open ground. The key is to maintain consistent soil moisture without allowing the roots to sit in water. Mulching around the base of plants with organic materials such as straw or well-rotted compost helps retain moisture, suppress weeds, and regulate soil temperature, all of which contribute to healthier plants.
For pole beans, installing robust support structures is essential. These climbing varieties will readily attach themselves to trellises, wigwams, or sturdy netting, but they may need gentle guidance in the early stages of growth. Erect your chosen support before or immediately after sowing to avoid disturbing the roots. Traditional bamboo canes arranged in a tripod formation or rows of vertical stakes with horizontal strings create effective frameworks. As the plants grow, check regularly to ensure the tendrils are wrapping around the support; occasionally, you may need to gently weave wayward stems through the trellis. In particularly hot climates, temperatures exceeding 35 degrees Celsius can stress plants, so providing temporary shade during extreme heat protects the delicate flowers and developing pods. Halfway through the growing season, an application of compost or a potassium-rich fertiliser supports flowering and pod development, ensuring a continuous harvest.
Maintaining plant health through rotation and ongoing garden management
Crop rotation is a cornerstone of organic gardening, helping to prevent the build-up of soil-borne diseases and pests. Beans, as members of the legume family, enrich the soil by fixing atmospheric nitrogen through symbiotic bacteria in their root nodules. After harvesting, cut the plants at ground level and leave the roots in the soil to decompose, releasing this valuable nitrogen for subsequent crops. Follow beans with brassicas or leafy greens, which benefit from the enhanced nitrogen levels. Avoid planting beans in the same plot more than once every three to four years, rotating with other vegetable families to maintain soil health and minimise disease risk.
Ongoing garden management includes vigilance against common pests such as slugs, snails, and black bean aphids. Early intervention is crucial; hand-picking pests during evening inspections or employing organic deterrents like crushed eggshells and beer traps can significantly reduce damage. Companion planting with marigolds or nasturtiums can help repel aphids and attract beneficial insects that prey on pests. Regularly inspect plants for signs of disease, such as yellowing leaves or stunted growth, and remove affected foliage promptly to prevent spread. Harvesting pods at the right time is equally important; for snap beans, pick when the pods are firm and crisp with seeds just beginning to form, typically 55 to 60 days after planting. Frequent harvesting, ideally every three to five days, encourages the plant to continue producing until the first frost. By adhering to these practices, your organic kitchen garden will yield a continuous supply of fresh, flavoursome green beans throughout the season.
by cafe-eilat | Apr 3, 2026 | Recipes
Bringing the vibrant tastes of Spain into your own kitchen has never been more exciting or accessible. Whether you're after a hearty family meal or an impressive spread for friends, the rich tapestry of flavours found across the Iberian Peninsula offers something for everyone. From the sun-drenched coasts of Andalusia to the bustling tapas bars of Madrid, Spanish cooking celebrates fresh ingredients, bold seasonings, and a joyful approach to food. With a few key techniques and quality produce, you can recreate these beloved classics and discover why the Mediterranean diet continues to captivate food lovers worldwide.
Classic paella: the golden rice dish that shines
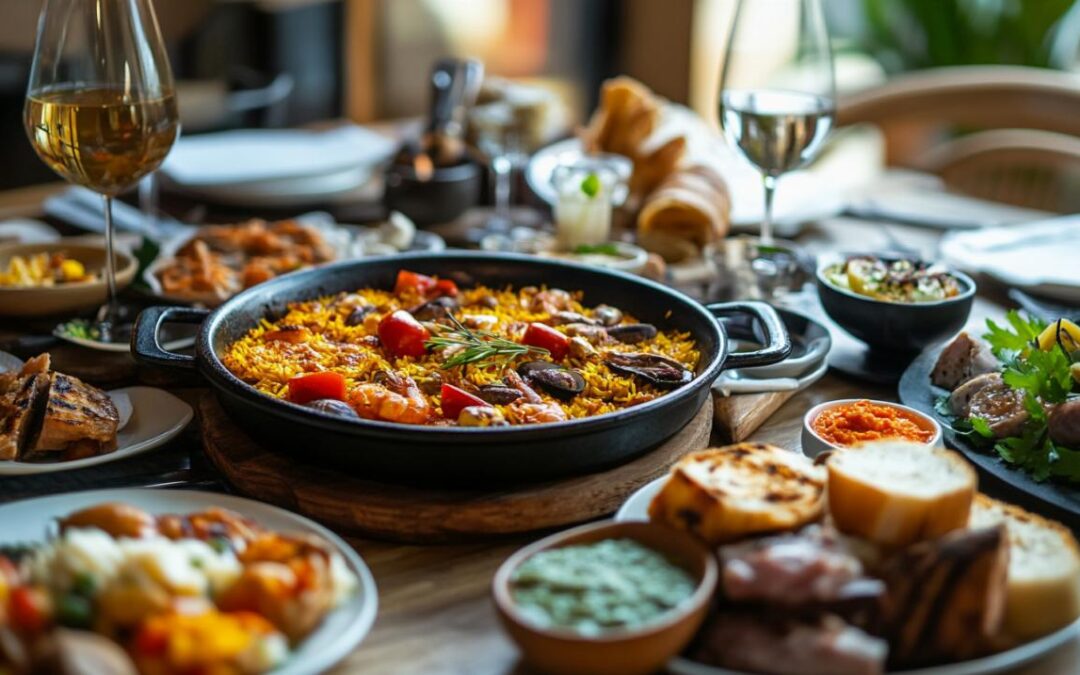
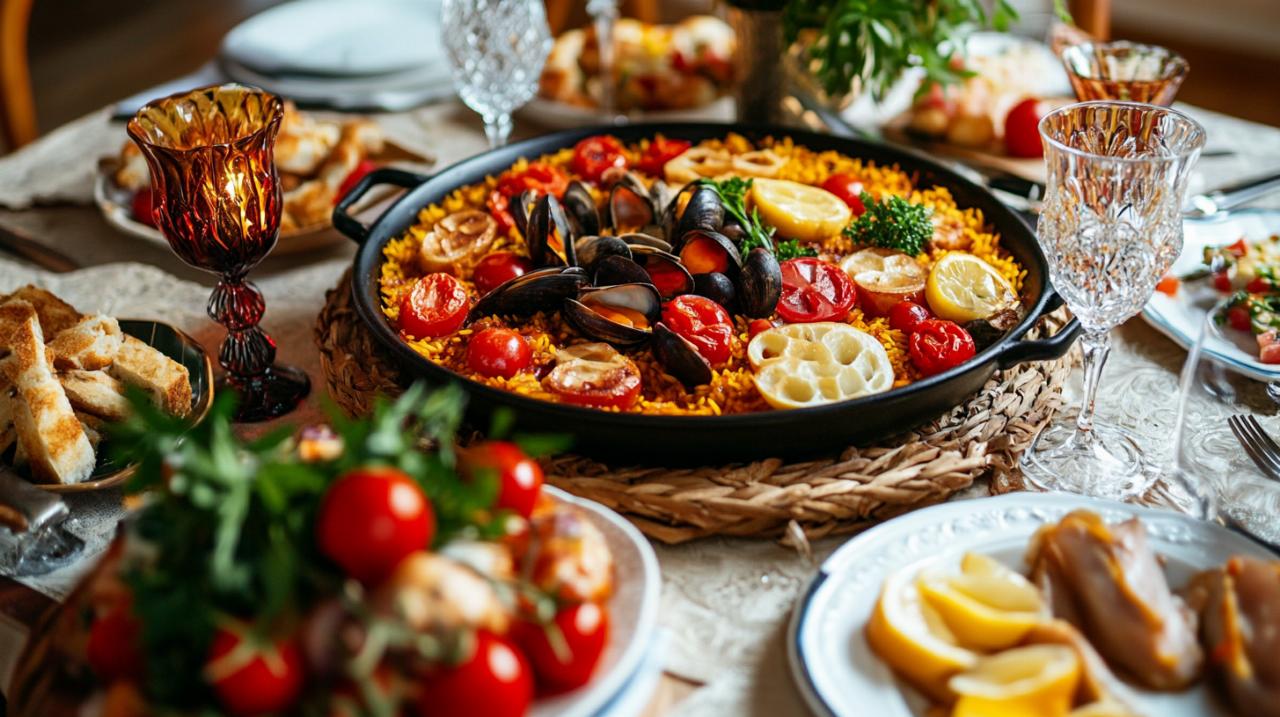
Paella stands as one of Spain's most iconic contributions to world cuisine, a saffron-scented rice dish that brings together land and sea in a single pan. Originating from the Valencia region, this celebrated meal has evolved into countless variations, each reflecting local tastes and available ingredients. The beauty of paella lies in its versatility and the way it transforms humble components into something truly special. The key to success is achieving that perfect balance of tender rice, rich stock, and the coveted socarrat, the crispy golden layer that forms at the bottom of the pan. When exploring spanish cuisine recipes, paella inevitably takes centre stage, inviting home cooks to experiment with different proteins and seasonings while respecting the fundamental principles that make this dish so beloved.
Mastering the Perfect Seafood Paella at Home
Creating an authentic seafood paella requires attention to detail and a willingness to embrace the process. Start by selecting the freshest prawns, mussels, and squid you can find, as the quality of your seafood will directly influence the final result. The foundation begins with a good sofrito, a flavourful base of onions, garlic, and tomatoes cooked slowly until they become sweet and concentrated. Adding bomba or calasparra rice ensures the grains absorb maximum flavour whilst maintaining their structure. The saffron, though costly, is non-negotiable, lending that distinctive golden hue and subtle floral note that defines proper paella. Building layers of taste by cooking the seafood in stages prevents overcooking whilst allowing each element to contribute to the overall complexity. The moment you present this stunning dish to your guests, with its vibrant colours and intoxicating aroma, you'll understand why paella holds such a special place in Spanish food culture.
Chicken and Chorizo Paella for Beginners
For those just starting their journey into Spanish cooking, a chicken and chorizo paella offers a forgiving introduction to this classic technique. The smoky paprika from quality chorizo infuses the rice with deep, savoury notes whilst the chicken provides substance and heartiness. This variation proves particularly popular with families, as the flavours tend to appeal to a broader range of palates. Begin by browning your chicken pieces until golden, then set them aside whilst you cook sliced chorizo until it releases its characteristic red oils. These flavourful fats become the cooking medium for your sofrito, creating a rich foundation. Once you add your stock and rice, resist the temptation to stir too frequently, as paella demands a hands-off approach to develop properly. After roughly twenty minutes of gentle simmering, your rice should be tender and infused with all those wonderful flavours, ready to serve straight from the pan in true Spanish style.
Tempting tapas: small plates, big flavours
The tapas tradition embodies the Spanish philosophy of eating as a social occasion, where small portions encourage sharing and conversation. These bite-sized delights range from simple olives and cheese to elaborate preparations showcasing regional specialities. The genius of tapas lies in their variety, allowing diners to sample multiple flavours throughout an evening rather than committing to a single dish. Home cooks find tapas particularly appealing because many recipes come together quickly, making them ideal for entertaining without spending hours in the kitchen. The informal nature of tapas dining removes pressure whilst creating an atmosphere of relaxed enjoyment, perfect for gatherings where the focus remains on good company and great food.
Patatas Bravas and Gambas al Ajillo for Your Next Gathering
Patatas bravas represent tapas at its most satisfying, combining crispy fried potatoes with a spicy tomato sauce and cooling aioli. Achieving the right texture requires cutting your spuds into irregular chunks and frying them twice, first at a lower temperature to cook through, then at higher heat to develop that essential crunch. The bravas sauce, made with tomatoes, smoked paprika, and a touch of heat from cayenne, should be bold enough to stand up to the richness of the potatoes. Meanwhile, gambas al ajillo offers a completely different but equally compelling experience. Fresh prawns sizzle in abundant olive oil with sliced garlic and dried chillies, creating an aromatic dish that arrives at the table still bubbling in its earthenware dish. The garlicky oil is so delicious that crusty bread becomes essential for mopping up every last drop. Together, these dishes showcase the Spanish talent for elevating simple ingredients through careful technique and generous seasoning.
Chorizo in cider: a pub-style spanish favourite
This Asturian speciality combines two of northern Spain's finest products into a simple yet utterly moreish tapa. Quality chorizo, preferably the cooking variety rather than the cured type, gets sliced into thick rounds and cooked slowly in dry cider until the liquid reduces to a sticky glaze. The sweet apple notes from the cider balance the paprika-rich sausage beautifully, whilst the gentle simmering allows the flavours to meld together. Serve this warm in the cooking dish with cocktail sticks for spearing the tender chorizo pieces, and watch them disappear almost instantly. The beauty of this recipe lies in its simplicity and the way just two main ingredients create something far greater than the sum of their parts. It's the sort of dish that transports you straight to a bustling bar in Oviedo, where locals gather over a glass of sidra and animated conversation.
Refreshing gazpacho: the perfect cold soup for warm days
Andalusian summers demand dishes that cool and refresh, and gazpacho answers that call with vibrant flavours and nourishing ingredients. This chilled soup represents peasant cooking at its finest, transforming bread, tomatoes, peppers, and cucumber into liquid sunshine. The origins trace back centuries to when field workers needed portable, hydrating meals that could withstand the heat. Modern versions have refined the technique but maintained the essential character of this beloved dish. Unlike hot soups that require lengthy simmering, gazpacho comes together in minutes with a powerful blender, making it an ideal choice for busy home cooks seeking something special without complexity.
Traditional tomato gazpacho recipe
The classic tomato-based gazpacho relies on perfectly ripe, flavourful tomatoes to shine. Choose the reddest, most aromatic specimens you can find, as their quality will make or break your soup. Combine them in your blender with chunks of cucumber, green pepper, garlic, good quality sherry vinegar, and extra virgin olive oil. Stale bread, preferably a day-old country loaf, provides body and a subtle richness that ties everything together. Blend until completely smooth, then season generously with salt and perhaps a pinch of cumin for depth. The mixture should taste bright and balanced, with enough acidity to wake up your palate. Chill thoroughly for at least two hours, allowing the flavours to marry and the temperature to drop to properly refreshing levels. Serve in chilled bowls or glasses, garnished with finely diced vegetables and a drizzle of your finest olive oil for an elegant presentation that tastes as good as it looks.
Creative Variations with Cucumber and Peppers
Once you've mastered the traditional recipe, the world of gazpacho opens up to exciting variations. A white gazpacho made with almonds, grapes, and garlic offers a completely different but equally refreshing experience, particularly popular in Malaga. For something lighter, try a cucumber-forward version that emphasises the cooling properties of this humble vegetable. Roasted red peppers can replace raw ones for a sweeter, smokier profile that works beautifully with grilled seafood. Some cooks add watermelon for natural sweetness and additional hydration, creating a pink-hued soup that surprises and delights. The fundamental technique remains constant whilst the ingredients shift according to season and preference. This flexibility makes gazpacho endlessly appealing, a canvas for creativity that still honours its rustic origins. Whether you stick to tradition or venture into new territory, this cold soup embodies the Spanish genius for celebrating fresh produce in its most unadulterated form.
Tortilla española: the humble potato omelette done proper
Few dishes capture Spanish home cooking quite like the tortilla española, a thick potato and onion omelette found everywhere from humble kitchens to upscale restaurants. This deceptively simple creation requires just eggs, potatoes, onions, olive oil, and salt, yet achieving perfection demands practice and patience. The finished tortilla should be golden on the outside with a slightly creamy interior, substantial enough to slice yet tender throughout. It serves equally well hot from the pan, at room temperature for a packed lunch, or cold as part of a tapas spread. The tortilla española demonstrates how Spanish cooks elevate everyday ingredients through technique and care, creating something far greater than its modest components might suggest.
Getting the Texture Just Right: Tips and Tricks
The secret to an exceptional tortilla begins with properly preparing your potatoes. Slice them thinly and evenly, then cook gently in abundant olive oil rather than frying at high heat. This slow poaching renders the potatoes tender and infuses them with flavour whilst preventing the harsh edges that come from aggressive frying. Meanwhile, cook your onions separately until soft and sweet, then combine with the drained potatoes. The beaten eggs should be seasoned well before you fold in the potato mixture, ensuring even distribution of flavour. The crucial moment arrives when you pour everything into a hot pan and begin to coax the mixture into its characteristic rounded shape. Confident flipping, using a plate to invert the tortilla midway through cooking, separates adequate attempts from truly impressive results. Don't worry if your first few flips prove messy, as this skill develops with repetition and a certain fearlessness in the kitchen.
Serving your tortilla throughout the day
The versatility of tortilla española means it fits comfortably into any meal occasion. For breakfast, serve warm wedges alongside fresh tomatoes and crusty bread for a hearty start to the day. At lunch, pack thick slices between bread rolls for a satisfying bocadillo that travels well and tastes delicious at room temperature. During evening tapas hours, cut the tortilla into small squares and secure each with a cocktail stick, perhaps adding a dollop of aioli or a strip of roasted pepper on top. Some families enjoy tortilla as a light supper with a simple green salad, allowing the eggs and potatoes to take centre stage. The beauty lies in its complete acceptability at any hour, a democratic dish that refuses to be confined to specific dining conventions. Whether you're feeding a crowd or simply want comfort food that delivers every time, the tortilla española stands ready to please.
Churros with chocolate: a sweet spanish treat
Spanish desserts tend towards simplicity, and churros exemplify this approach beautifully. These ridged sticks of fried dough achieve a crispy exterior whilst remaining fluffy inside, providing the perfect vehicle for thick, rich chocolate. The tradition of dipping churros into hot chocolate for breakfast or as an afternoon treat runs deep in Spanish culture, particularly in Madrid where specialist churrerías have perfected the art over generations. Making churros at home might seem daunting, but with the right equipment and a bit of confidence, you can recreate this beloved sweet in your own kitchen. The reward is immediate, as few things match the satisfaction of biting into a freshly made churro, its golden surface yielding to reveal steaming, tender dough.
Making crispy churros in your own kitchen
The churro dough comes together with basic pantry ingredients: flour, water, salt, and sometimes a touch of butter for enrichment. The mixture needs to be smooth and pipeable but firm enough to hold its distinctive ridged shape when squeezed through a star-shaped nozzle. Heat your oil to the correct temperature, around one hundred and eighty degrees, to ensure the churros cook through without burning. Pipe the dough directly into the hot oil, cutting it to your desired length with scissors. They'll puff up and turn golden within a few minutes, at which point you should drain them on kitchen paper and dust generously with caster sugar. The key is working in batches to avoid crowding the pan, which would lower the oil temperature and result in greasy rather than crisp churros. Serve them immediately whilst still warm for the best possible experience, though they remain enjoyable for an hour or two after frying.
Preparing rich dark chocolate for dipping
Spanish hot chocolate bears little resemblance to the thin, milky versions found elsewhere. This is a thick, intensely flavourful concoction that coats the back of a spoon and clings to your churros with determination. Start with quality dark chocolate, chopped finely, and combine it with whole milk, a touch of cornflour for body, and perhaps a hint of cinnamon or vanilla. Heat gently whilst stirring constantly until the chocolate melts completely and the mixture thickens to a custard-like consistency. Some recipes add a tablespoon of cream for extra richness, though this remains optional depending on your preference. The finished chocolate should be dark, glossy, and almost pudding-like in texture. Pour it into cups or small bowls for serving, ensuring each person has enough for generous dipping. The combination of crispy, sugared churros and velvety chocolate creates a moment of pure indulgence, a sweet ending that captures the joyful spirit of Spanish cuisine at its most delicious.